
How to Set Up an Ergonomic Office Workstation for Better Health and Productivity

A sore neck at 3 pm is not a badge of hard work. It is often a sign that the workstation is asking the body to adapt all day, instead of supporting it.
Good ergonomics does not mean buying the most expensive chair or turning a workspace into a showroom. It means arranging the chair, screen, keyboard, mouse, lighting and work habits so the body can stay in a comfortable, neutral position for longer. That can reduce strain, make concentration easier and help work feel less tiring.
This guide explains how to build an ergonomic office workstation step by step, whether the space is at home, in a shared workplace or in a small spare-room setup. It is informational only and is not a substitute for medical advice if pain, numbness or ongoing discomfort is present.
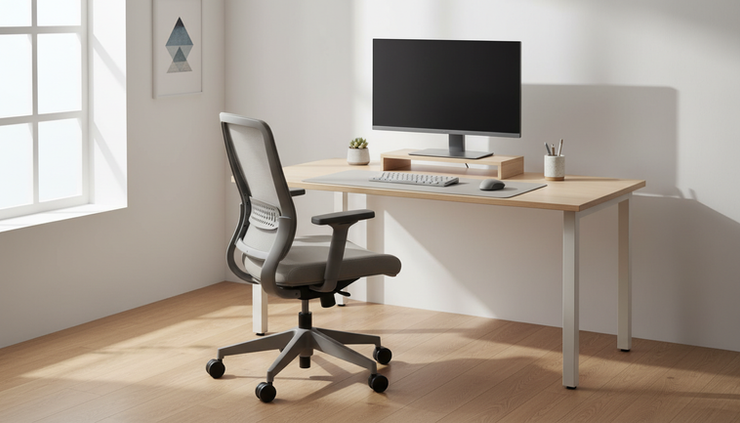
Why ergonomics matters for health and productivity
The body is not built to hold one fixed posture for hours. Even a “perfect” sitting position can become uncomfortable if nothing changes. The aim of office ergonomics is to reduce awkward angles, repeated reaches and pressure points, then add enough movement to stop the body from locking into one position.
A well-planned setup can help with:
Less neck and shoulder tension from looking up, down or sideways
Reduced wrist and forearm strain from poor keyboard and mouse placement
Better lower-back support from a chair that fits the user
Less eye fatigue from better screen height, distance and lighting
Fewer distractions caused by discomfort
More consistent energy through the day
The most useful rule is simple: keep the body close to neutral. Ears over shoulders. Elbows near the sides. Forearms level or slightly sloping down. Feet supported. Screen directly ahead.
That does not mean sitting still. It means starting from a position that causes less strain, then changing posture regularly.
Step-by-step guide to creating an ergonomic workstation setup
1. Start with the chair
The chair sets the height for almost everything else. If the chair does not support the body well, the desk and screen become harder to place correctly.
Adjust the chair so that:
Feet rest flat on the floor
Knees sit at about hip height, or slightly lower
Thighs feel supported without pressure behind the knees
Lower back touches the backrest
Shoulders stay relaxed
Elbows can rest near the sides when typing
If feet do not reach the floor once the chair is high enough for the desk, use a footrest. A stable footrest is better than dangling feet or tucking them under the chair.
Look for a chair with adjustable seat height, lumbar support, a backrest that supports natural spinal curves and a seat pan that does not dig into the backs of the legs. Armrests can help if they allow the shoulders to relax, but they should not force the elbows out or stop the chair from getting close to the work surface.
2. Set the desk height
The desk should let the forearms rest in a comfortable typing position. In most cases, that means elbows close to the body and bent at roughly a right angle, with wrists straight.
If the desk is too high, shoulders lift and neck tension builds. If it is too low, the back rounds and the wrists may bend upwards.
A fixed-height desk can still work well. Use the chair height to get the elbows into a comfortable position, then add a footrest if needed. If the desk is very high and cannot be adjusted, a keyboard tray may help. If it is too low, desk risers may help, but only if they are stable.
Keep the area under the desk clear. Boxes, bags and trailing cables often force twisted legs or cramped postures.

3. Position the monitor
Screen placement has a major effect on the neck, eyes and upper back.
For a single monitor, place it:
Directly in front of the body
About an arm’s length away
With the top of the screen at or slightly below eye level
Tilted slightly back if needed to reduce glare
At a height that does not make the chin lift or drop
If wearing varifocals or bifocals, the screen may need to sit lower so the neck does not tilt back to see clearly. In that case, comfort matters more than a generic rule.
For two screens, place the main screen directly ahead and the secondary screen to the side. If both screens are used equally, centre them together so the join is in front of the body, with each screen angled slightly inwards.
Laptop screens are usually too low for long work sessions. A laptop stand or riser can bring the screen up, but it should be paired with a separate keyboard and mouse. Working for hours on a laptop keyboard while the screen is raised usually creates a new problem, because the arms then reach too high.
4. Place the keyboard and mouse
The keyboard should sit close enough that the elbows stay by the sides. The mouse should sit close to the keyboard, not far out to one side.
Aim for:
Straight wrists
Relaxed shoulders
Forearms roughly level or sloping slightly down
A light touch when typing or clicking
Mouse movement from the forearm, not only the wrist
Avoid using the small feet at the back of the keyboard if they cause the wrists to bend upwards. Many people are more comfortable with the keyboard flat or slightly tilted away from the body.
Choose a mouse that fits the hand. A mouse that is too small can encourage gripping. A mouse that is too large can cause reaching. Vertical mice and trackballs suit some people, but they are not magic fixes. Try them long enough to judge comfort, and introduce changes slowly.
A wrist rest can help during pauses, but it should not become a place to press the wrists while typing.
5. Arrange frequently used items within easy reach
Reaching across the desk again and again can irritate the shoulder and upper back. Keep the tools used most often in the primary reach zone, the area that can be reached with elbows close to the body.
Place less-used items further away. If phone calls are frequent, use a headset rather than holding a phone between the ear and shoulder. If paper documents are used while typing, use a document holder near the screen to reduce repeated neck twisting.
Best placed close by | Best placed further away |
Keyboard | Spare notebooks |
Mouse | Reference folders |
Phone or headset controls | Printer supplies |
Current paperwork | Occasional devices |
6. Improve lighting and reduce glare
Good lighting supports posture. If the screen is hard to see, the body often leans forward without noticing.
Place screens so bright windows are to the side where possible, rather than directly in front or behind. Use blinds, curtains or an adjustable lamp to control glare. Increase text size if needed, rather than leaning closer to read small text.
The screen should be bright enough to read comfortably, but not so bright that it feels harsh compared with the room. Clean the screen regularly, as smudges can make glare worse.
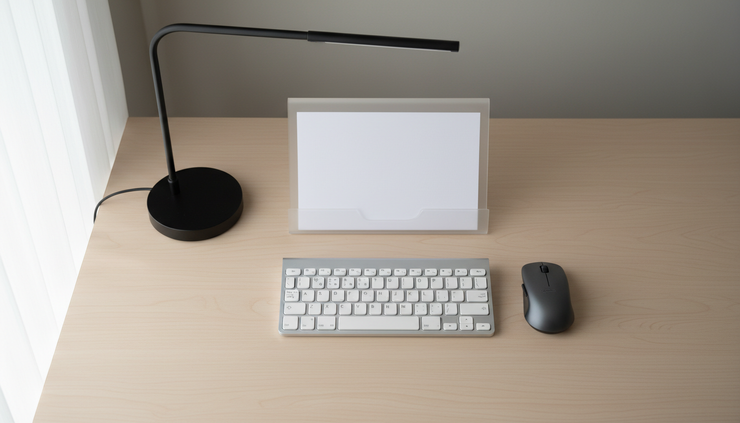
How to choose ergonomic chairs, desks and accessories
The best equipment is adjustable, stable and suited to the tasks done most often. Expensive equipment is not always better, especially if it does not fit.
Choosing an ergonomic chair
Look for:
Seat height adjustment with enough range for the user
Lumbar support that meets the lower back
Backrest angle adjustment
Seat depth that leaves a small gap behind the knees
A stable five-point base
Breathable, supportive cushioning
Armrests that adjust or can be removed
When testing a chair, sit in it for longer than a minute. Check whether it supports the lower back without pushing the body forward. Check whether the edge of the seat presses behind the knees. Check whether the armrests let the shoulders drop naturally.
Choosing an ergonomic desk
A good desk gives enough space for the screen, keyboard, mouse and documents without forcing long reaches. It also has enough depth to place the screen at a sensible distance.
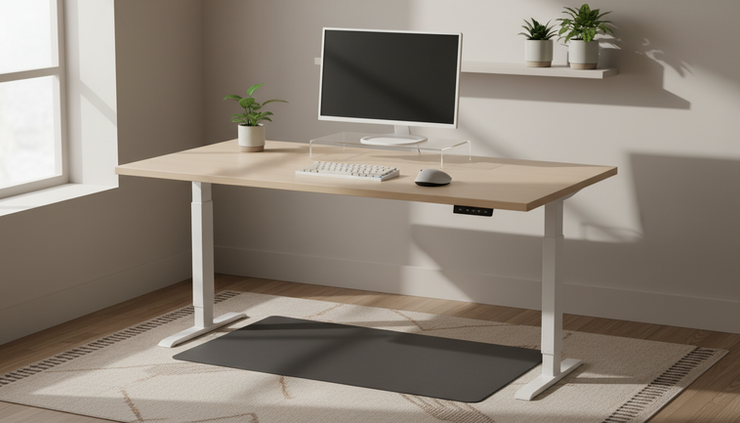
A sit-stand desk can be helpful because it makes posture changes easier. The value is not in standing all day. It is in switching between sitting and standing before discomfort builds.
When using a height-adjustable desk:
Keep the screen at eye level in both positions
Keep elbows near a right angle when typing
Stand with weight balanced between both feet
Use supportive footwear or an anti-fatigue mat if standing for longer periods
Change position often, rather than replacing all sitting with standing
Start with short standing periods. The body needs time to adapt.
Useful accessories
Accessories should solve a specific problem. A good ergonomic desk setup may include:
Monitor arm or riser to set screen height
Separate keyboard and mouse for laptop use
Footrest for shorter users or higher desks
Document holder for typing from paper
Headset for frequent calls
Task lamp for focused lighting
Cable management to keep the leg area clear
Avoid buying accessories just because they are labelled ergonomic. The right question is, “Does this help the body stay comfortable and neutral during the work I actually do?”
DSE assessments and when to review the setup
In the UK, Display Screen Equipment assessments help identify risks linked to screen-based work. A DSE assessment looks at the workstation, software, environment and work routine. It can cover the chair, desk, screen, keyboard, mouse, lighting, space and breaks.
Employers have duties around DSE for workers who use screens regularly as a significant part of their job. This can include people working from home. A DSE workstation setup review is especially useful when:
A new starter joins
Someone changes desk, chair or equipment
Hybrid or home working arrangements change
Pain, discomfort or eye strain is reported
A health condition, injury or pregnancy affects comfort
New software or tasks change how the workstation is used
A good assessment should lead to practical changes. That might mean adjusting equipment already available, providing a footrest, raising a monitor, changing work patterns or seeking specialist advice.
Build movement into the workday
Ergonomics is not only about equipment. The body needs movement, variation and recovery.
Try these small habits:
Stand up during short calls
Change posture before discomfort starts
Look away from the screen regularly to relax the eyes
Walk to get water instead of staying seated for long blocks
Stretch gently if it feels natural, without forcing painful ranges
Reset the chair and screen after someone else uses the space
Micro-breaks do not need to be long. Even brief changes in position can help reduce stiffness. The goal is to avoid holding the same shape for hours.
Quick workstation checklist
Use this checklist when setting up a new space or reviewing an existing one.
Chair adjusted so feet are supported
Lower back supported by the backrest
Elbows close to the body when typing
Wrists straight and relaxed
Keyboard and mouse close together
Screen directly ahead
Top of screen at or slightly below eye level
Screen about an arm’s length away
Glare controlled
Frequently used items within easy reach
Space under the desk clear
Posture changed regularly during the day
If several items on the checklist are difficult to achieve, the issue may be equipment fit rather than personal habit. Small changes can make a visible difference, but some workstations need a different chair, a screen riser or extra input devices to work well.
The takeaway
An ergonomic workstation is not a single perfect position. It is a setup that supports comfortable working, reduces needless strain and makes movement easy.
Start with the chair. Match the desk height to relaxed arms. Raise the screen to a comfortable viewing position. Keep the keyboard and mouse close. Control glare. Then review the setup whenever work habits, equipment or comfort levels change.
The best sign of success is simple: the workstation fades into the background, and the body no longer has to fight it all day.


Comments